


Installing an industrial floor coating is more than just applying paint to concrete—it's a systematic, technical process that requires surface preparation, proper materials, and precise application methods. A successful coating installation ensures maximum durability, chemical resistance, and safety performance. Here’s a step-by-step guide to how it’s done:
Step 1: Site Assessment and Floor Inspection
Before any coating is applied, a professional team will inspect the existing floor surface to assess:
-
Surface condition (cracks, spalls, uneven areas)
-
Moisture content
-
Chemical exposure and usage requirements
-
Traffic patterns and load-bearing needs
This determines the best coating system to use and identifies any repairs or surface treatments needed.
Step 2: Surface Preparation
This is the most critical step in ensuring proper adhesion. Preparation methods include:
-
Mechanical grinding or shot blasting to remove old coatings, oils, or surface laitance
-
Crack repairs and joint filling using epoxy mortar or resin
-
Removal of dust, debris, and moisture using vacuum and drying systems
A properly prepared surface should have the right roughness profile (CSP 2–4) to allow the coating to bond securely.
Step 3: Primer Application
A primer coat is applied to improve adhesion between the concrete and the coating system. Some primers also act as moisture barriers, preventing future delamination caused by vapor migration from the substrate.
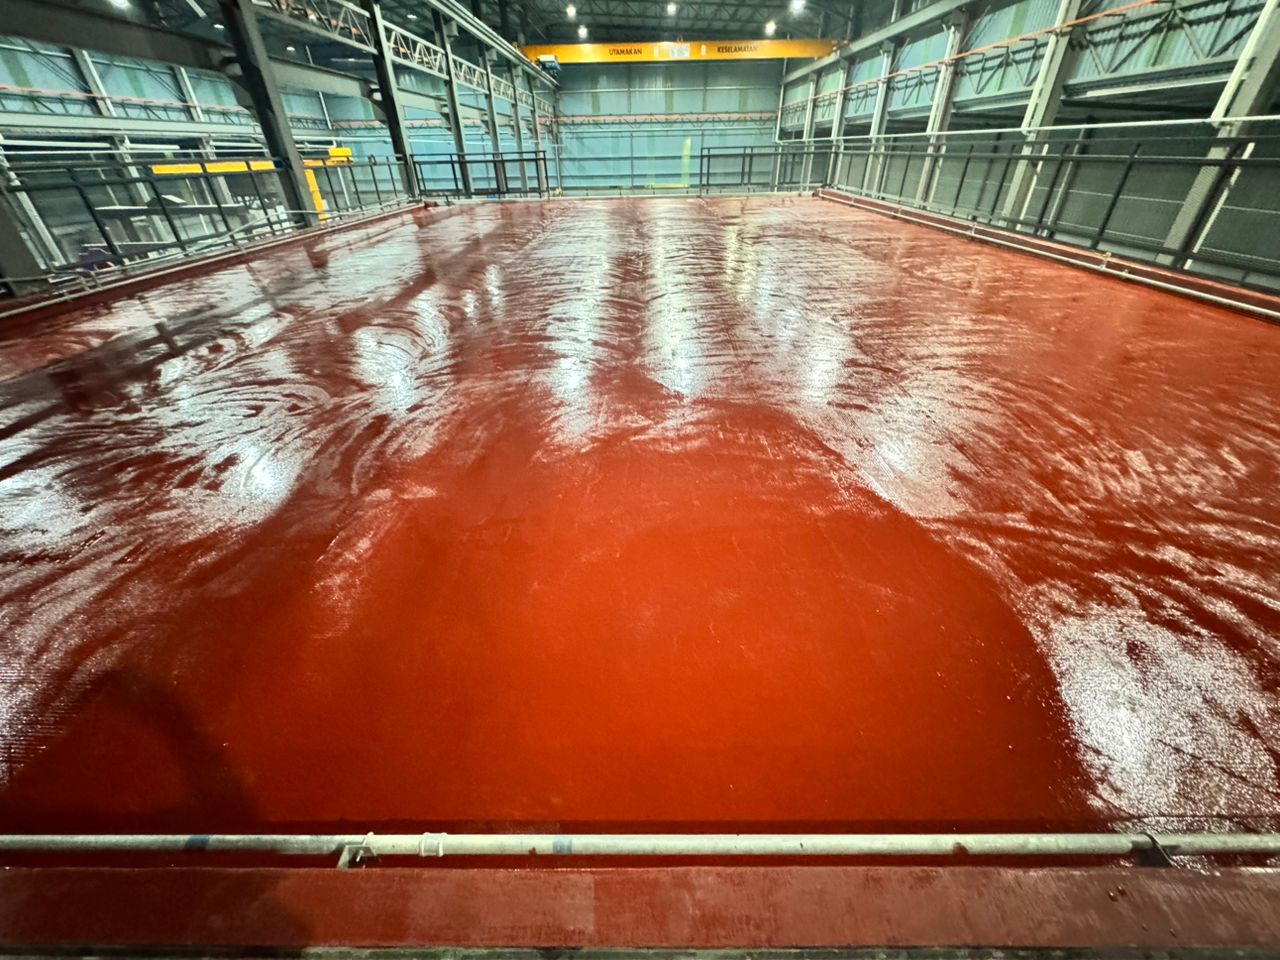
Step 4: Base Coat or Body Coat
This is the main layer that provides thickness and performance. Depending on the system, it may be an epoxy, polyurethane, or MMA resin. This coat may include:
-
Non-slip additives (silica or quartz)
-
Decorative flakes or color pigments
-
Reinforcement materials for added strength
Step 5: Topcoat Application
A protective topcoat is applied to seal the system, provide abrasion resistance, and enhance appearance. The topcoat also improves chemical resistance and makes cleaning easier. Options include:
-
Glossy, matte, or satin finishes
-
UV-resistant polyurethane topcoats for outdoor use
-
Anti-slip finishes for safety
Step 6: Curing and Final Inspection
The coating must be left to cure, which may take anywhere from 4 hours to 72 hours, depending on the material used. After curing:
-
Final inspection is carried out for surface quality, bonding, and uniformity
-
The floor is handed over for use—often with care guidelines or a maintenance plan
Conclusion
A proper industrial floor coating installation involves planning, preparation, and precision. When done correctly, it results in a high-performance surface that protects your facility, enhances safety, and delivers long-term value.

 BR 23491
  US 14317
  IN 5558
  VN 4311
  AO 3460
  GB 2675
  CN 2400
  DE 2110