Installing EPDM flooring requires attention to detail and following proper steps to ensure a high-quality result. It is crucial to follow this installation guide to ensure the EPDM flooring is installed correctly and delivers optimal performance in the long run.
Responsive
Inspect flooring prior to installation for manufacturing defects, correct colours and quantity. Be sure the sub-floor is smooth, clean, dry, and free of dust or contamination. If EPDM flooring is to be installed, make sure the quantity is adequate. A mixer of thinner and binder is applied on the cleaned surface.
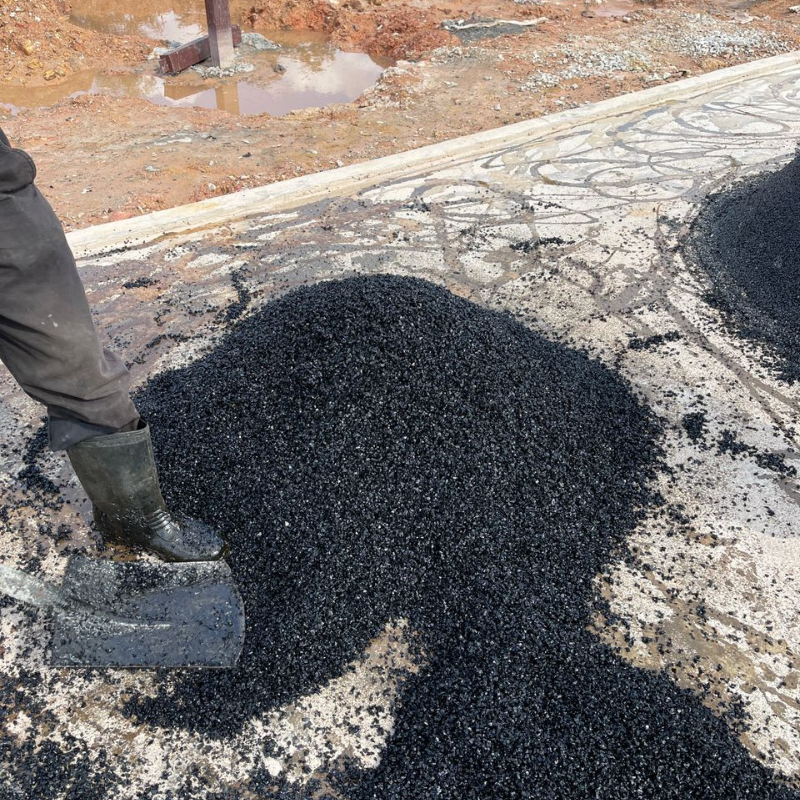
Laying Of Rubber Buffing
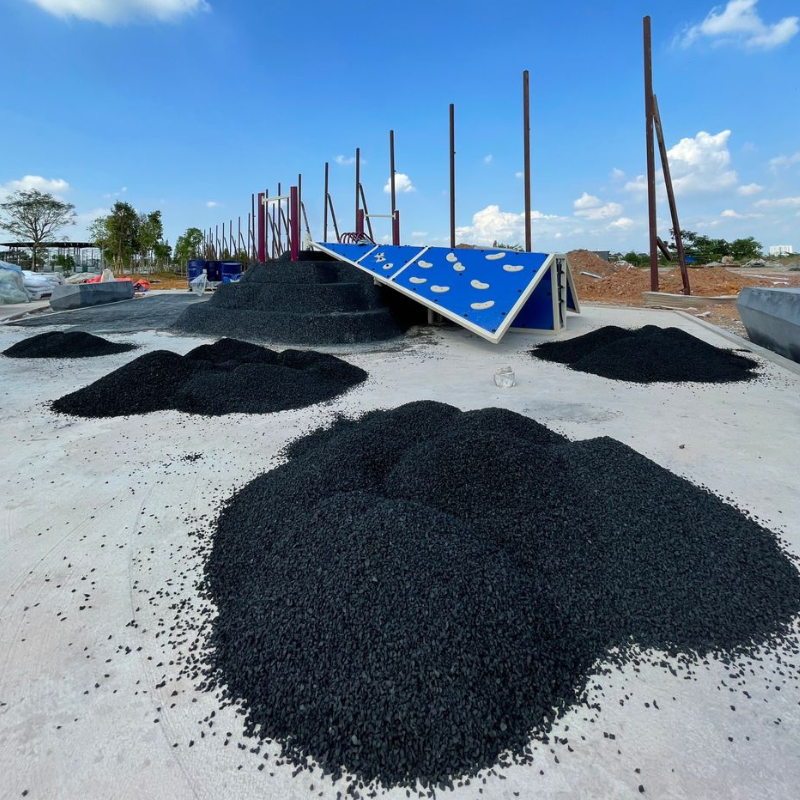
Distribution
Mixing Of Binder
Mixing Of Binder
Mix binder and buffing properly and later spread rubber buffing at equal portions throughout the surface. Maintain the ratio of binder and rubber buffing throughout the process. Otherwise, the layer could be too hard or too soft.
Commence design marking with chalk after the rubber buffing layer is semi-dried. The design could be anything and make sure it is not too complicated. The marking is important as different coloured granules can be easily applied.
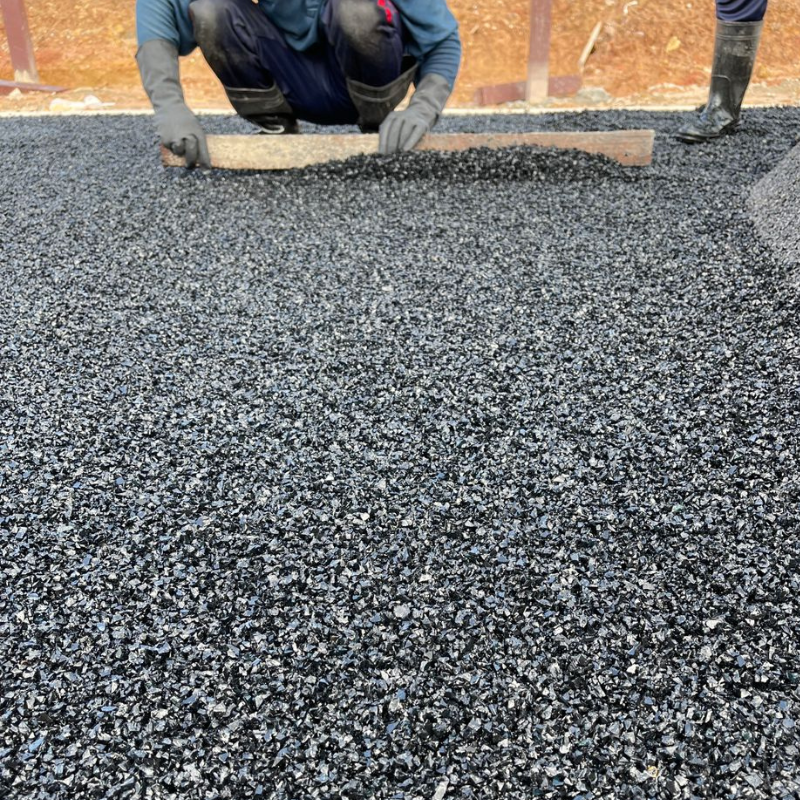
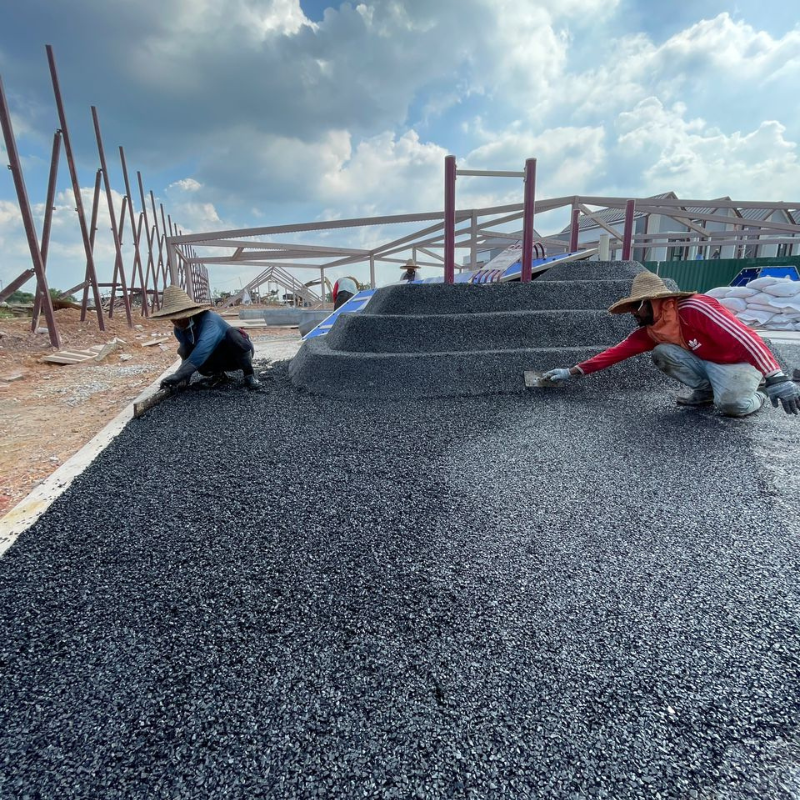
EPDM granules are mixed thoroughly with a binder and laid as per design. Maintain a proper ratio of granules and binder in this process. After that, they are levelled with the tapping of a wood trowel and screed.
After completion, the flooring will be kept idle for 4 to 5 days depending on the weather.


 US 6327
  BR 3859
  VN 3209
  AU 1407
  JP 1251
  TH 1225
  CA 933
  SG 904


