


 How to Use Whitening Gel at Home
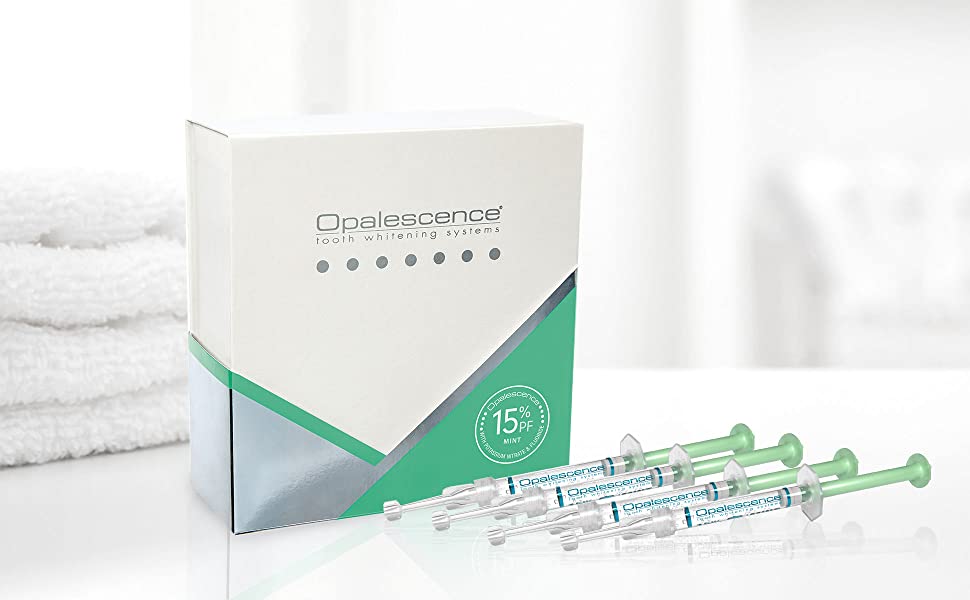
Teeth whitening gel is one of the easiest and most effective ways to brighten your smile from home. If you’re looking for a simple guide on how to use whitening gel at home safely and correctly, this article will walk you through every step. Following the right method helps you achieve better results while protecting your gums and teeth.
What You Need
- Whitening gel
- Whitening tray
- Tissue or cotton pad
- Timer
- Toothbrush & toothpaste
Step By Step to Use Whitening Gel Effectively
1. Brush and Rinse Your Teeth
Remove food particles to ensure gel works evenly.
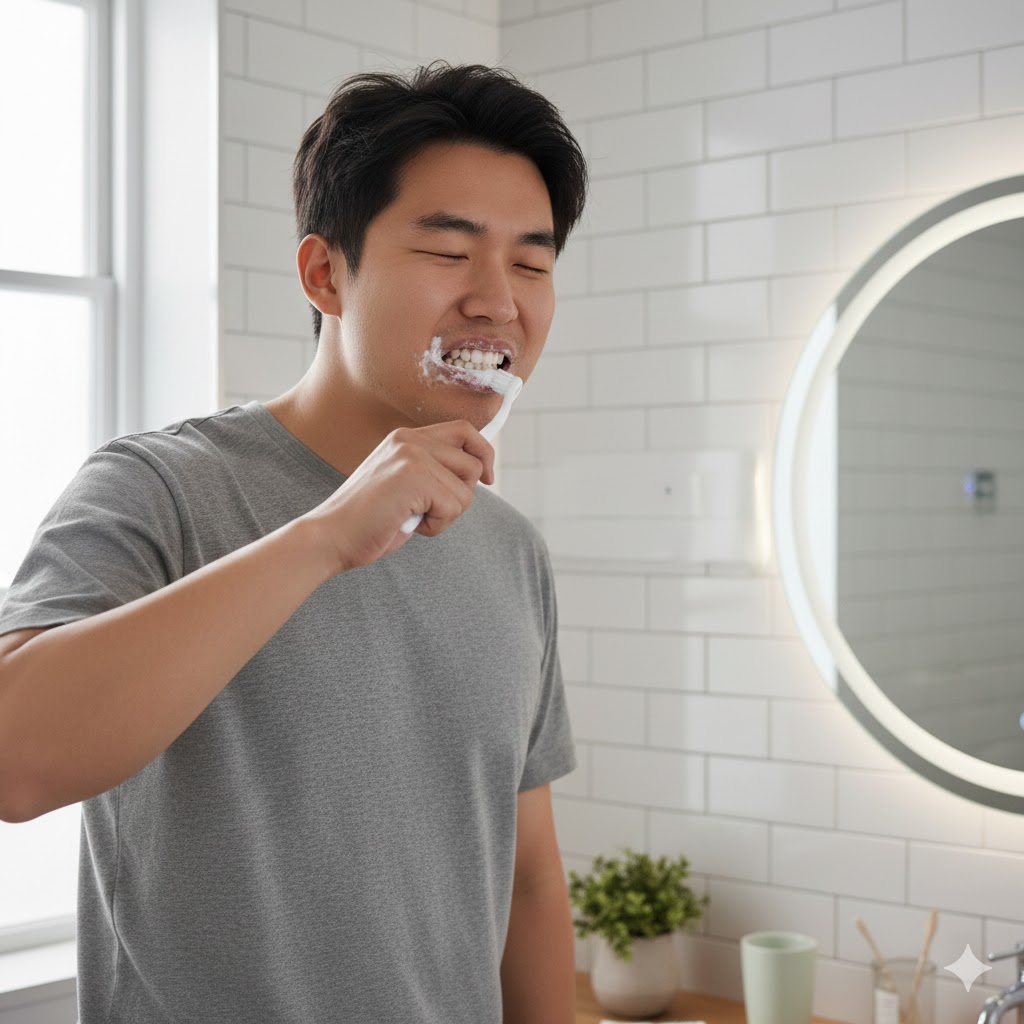
Use a tissue or clean cloth to lightly dry your teeth. Whitening gel sticks better on dry teeth and prevents dilution from saliva.
.jpg)
3. Apply a Small Amount of Gel Into the Tray
Place a thin line of whitening gel inside the front section of the whitening tray. A pea-sized amount per tooth area is usually enough.

Gently press the tray onto your teeth and wipe off any excess gel that touches your gums (to avoid irritation).


6. Remove the Tray and Rinse Well
After the whitening time is completed:
-
Remove the tray
-
Rinse your mouth thoroughly
-
Brush off any remaining gel gently
Avoid colored or acidic drinks for the next 30–60 minutes.
Want Faster, Stronger & Safer Results?
At-home whitening is great but if you want a faster, more powerful, and dentist-supervised whitening, visit Horizon Dental Clinic, located in Bukit Indah, for faster and stronger in-office whitening. Our dentists use professional-grade whitening systems that deliver visible results in a single visit, safely and effectively.
Book your whitening consultation with our doctor today.

.jpg)
Dr. Hoe Nai Hung Dr. Lau Li Xin

 BR 27058
  VN 9429
  US 5208
  AR 4167
  IN 4086
  ID 3614
  BD 2949
  IQ 2766
